第二章 FastAPI基础
FastAPI初试
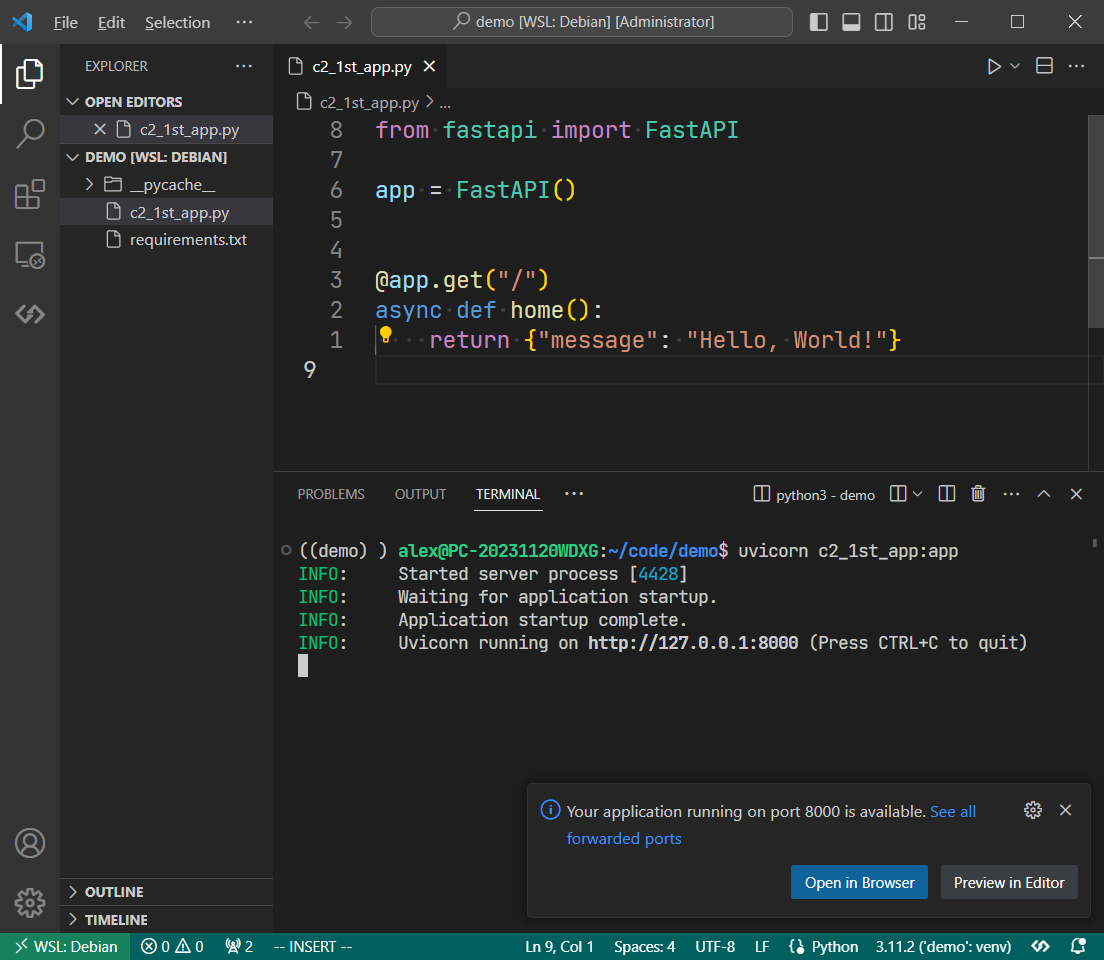
FastAPI很短平快,以下首个试跑程序。
# c2_1st_app.py
from fastapi import FastAPI  # (1)!

app = FastAPI()  # (2)!


@app.get("/")  # (3)!
async def home():
    return {"message": "Hello, World!"}
- 导入FastAPI类
- 创建FastAPI实例
- 定义路由和处理函数
vscode运行截图
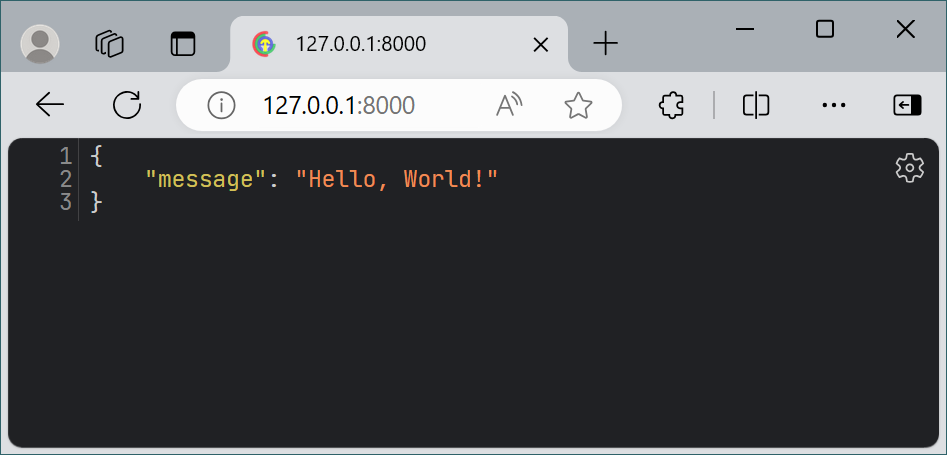
浏览器访问截图
处理请求参数
路径参数
在一个网址中,https://www.example.com/items/6, 6就是路径参数。在函数中用花括号括起来,FastAPI会自动解析。
from fastapi import FastAPI

app = FastAPI()

@app.get("/items/{id}") #(1)!
async def read_item(id: int): #(2)!
    return {"item_id": item_id}
- 路径参数用花括号括起来
- 在函数声明中,可以直接使用花括号定义的变量
查询参数
在一个网址中,https://www.example.com/items?page=4&size=2, ?page=4&size=2就是查询参数。在函数中声明中只要不匹配到路径参数,FastAPI会自动解析为查询参数。
from fastapi import FastAPI

app = FastAPI()

@app.get("/items")
async def read_item(page: int = 4, size: int = 2): #(1)!
    return {"page": page, "size": size}
- 在函数声明中声明的参数,只要匹配不到路径参数,FastAPI会自动解析为查询参数
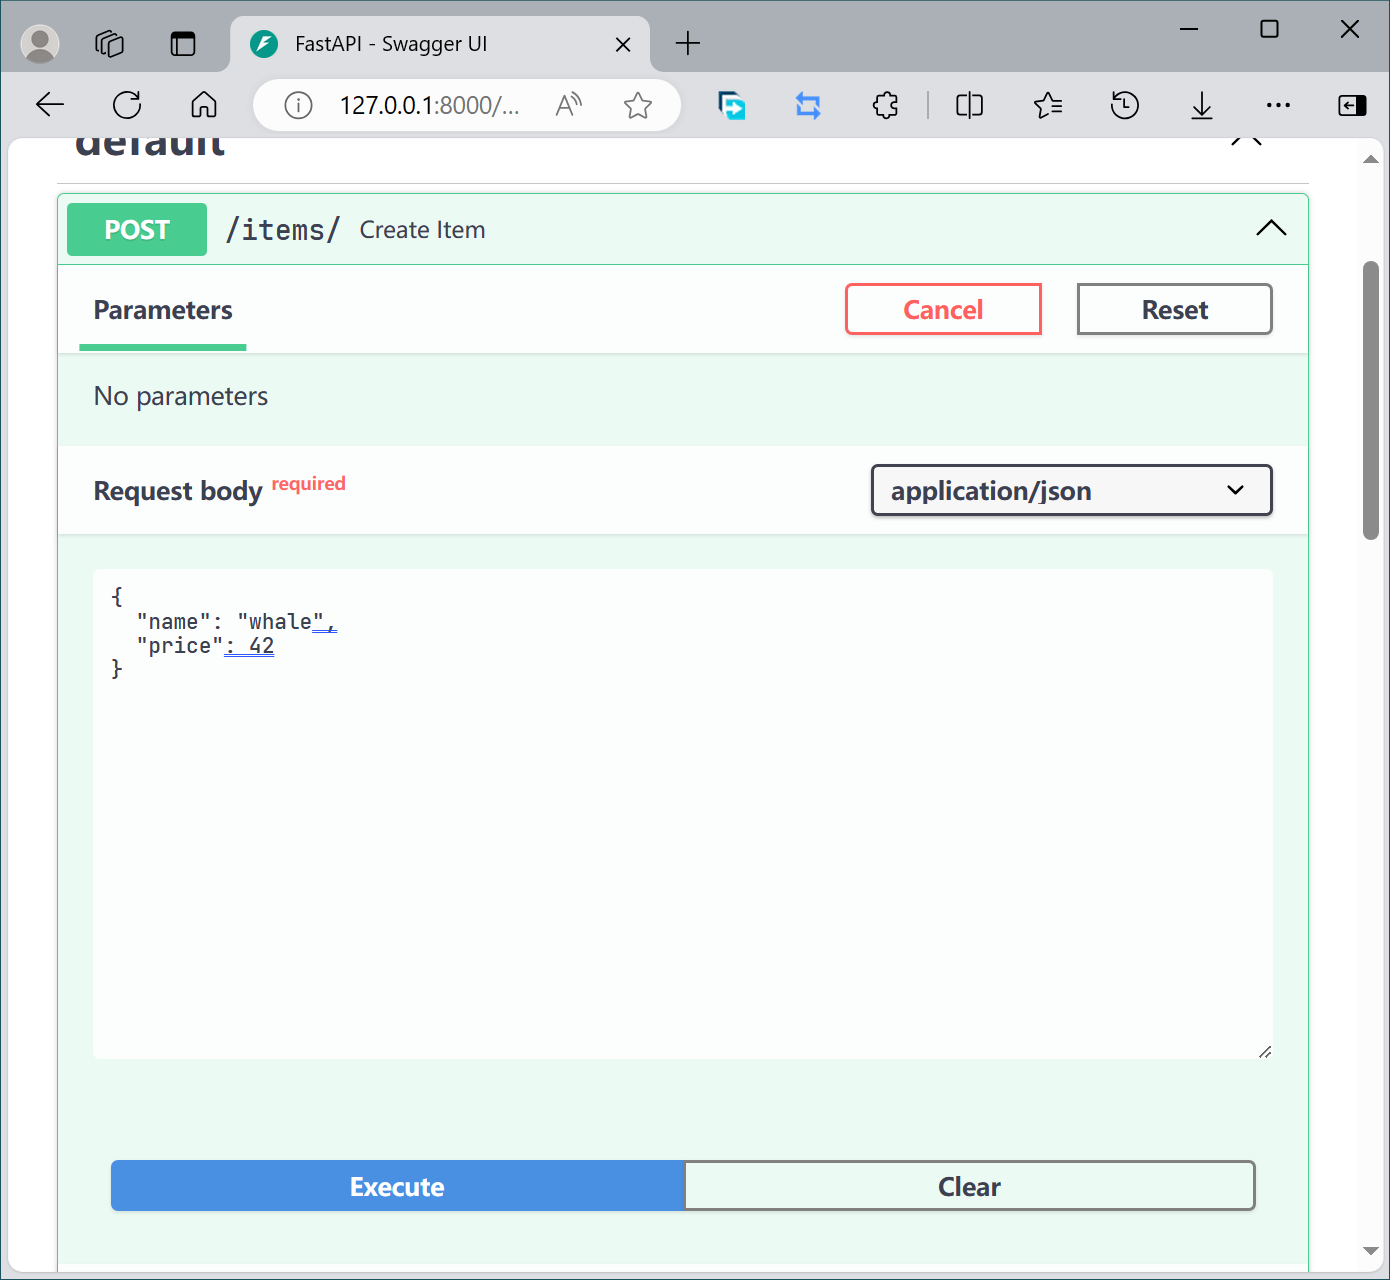
请求体
请求体一般包含用于数据库操作的JSON数据。它和查询参数一样,在函数声明中声明。
但是必须使用Body类型声明,表示它是请求体,否则FastAPI会把它当作查询参数去解析。
from fastapi import FastAPI, Body

app = FastAPI()

@app.post("/items/")
async def create_item(name: str = Body(...), price: float = Body(...)): #(1)!
    return {"name": name, "price": price}
- 在函数声明中,使用
Body类型声明默认值,表示它是请求体
插播:如何运行并测试写好API
FastAPI有自动生成的测试接口,可以用来测试API。
- 打开WSL Debian,并进入项目文件夹。项目文件夹就是py文件所在的文件夹。输入
code .在当前位置打开vscode。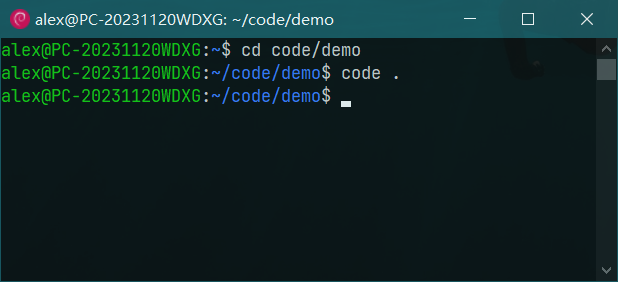
- 在vscode命令行输入 `uvicorn c2_query:app',并回车。
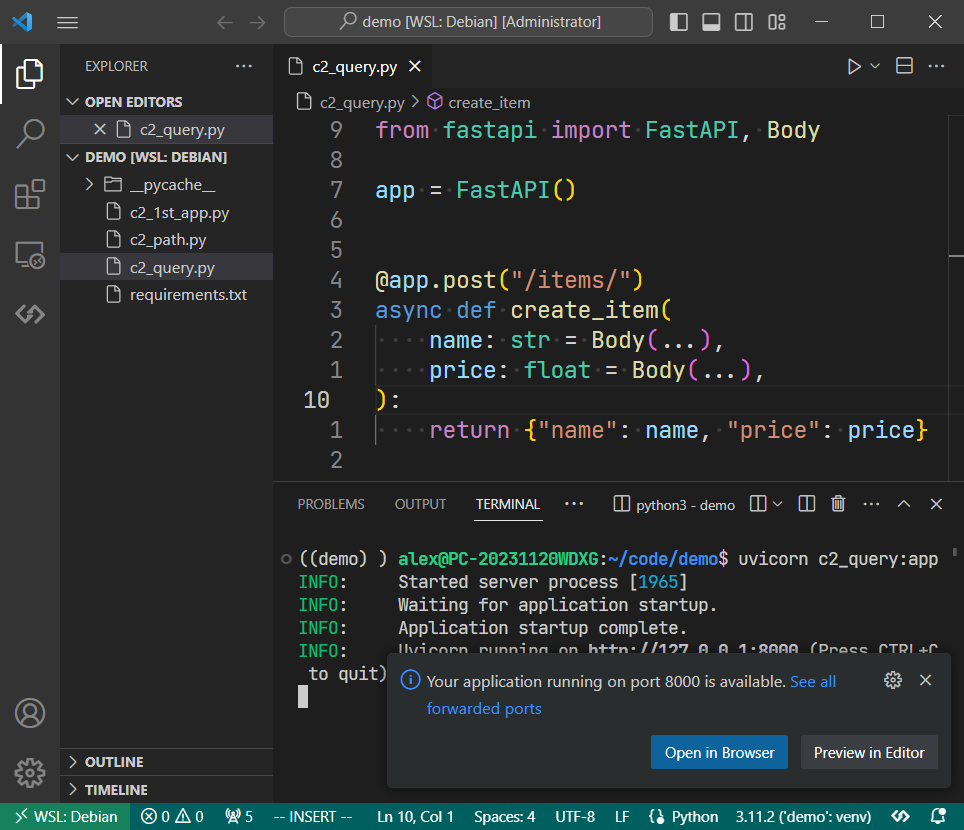
- 程序运行无误,会弹出一个小窗口,点击小窗口
Open in Browser,在浏览器中打开网址。 - 在打开的网址后加上
/docs,会打开API文档。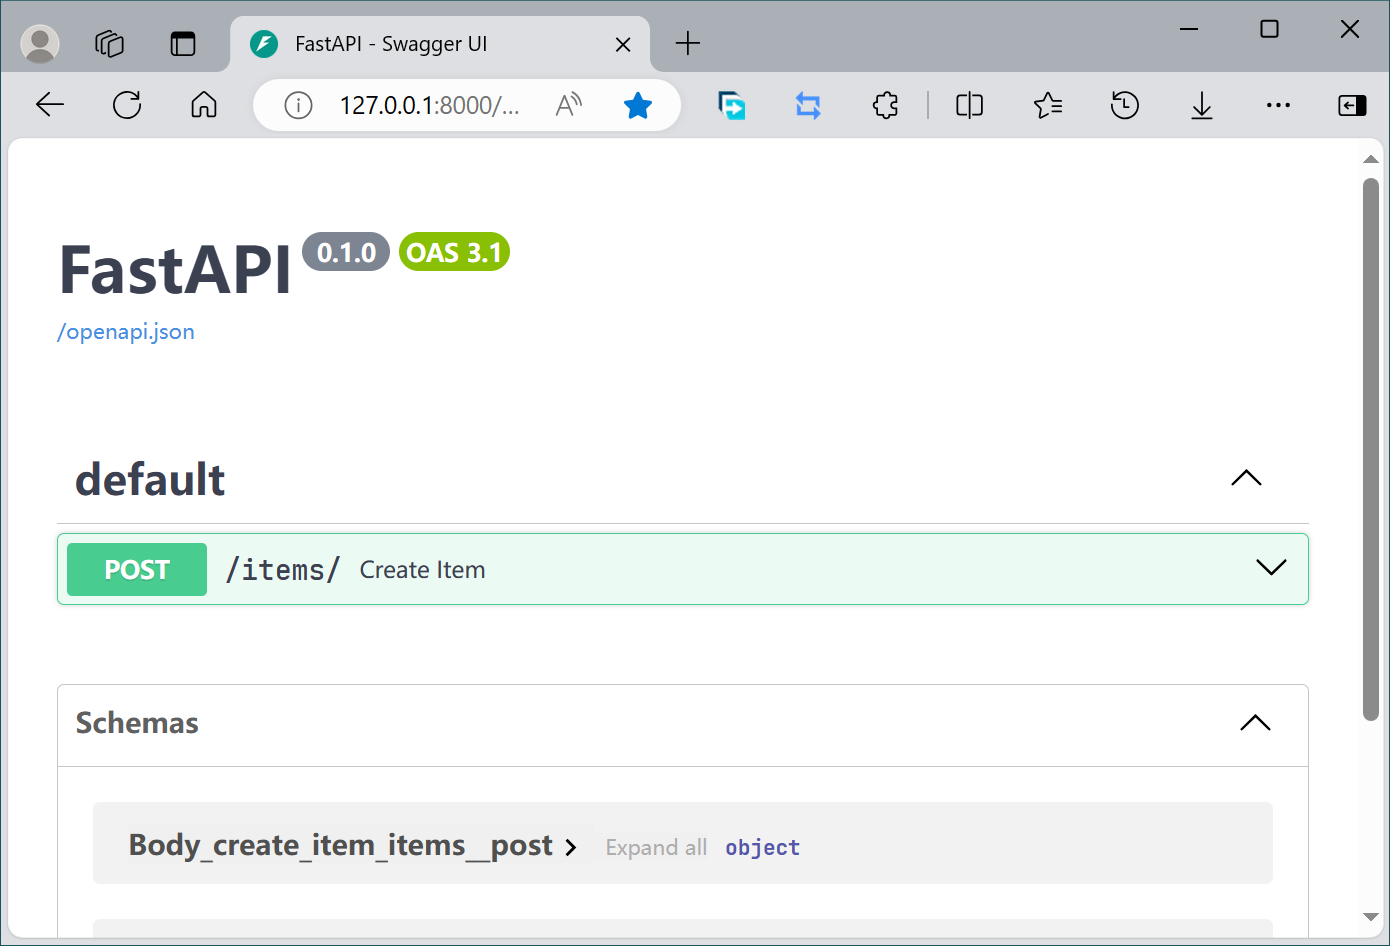
- 可以在网页上测试刚写好的API了。
请求体和查询参数
请求体和查询参数可以同时使用。